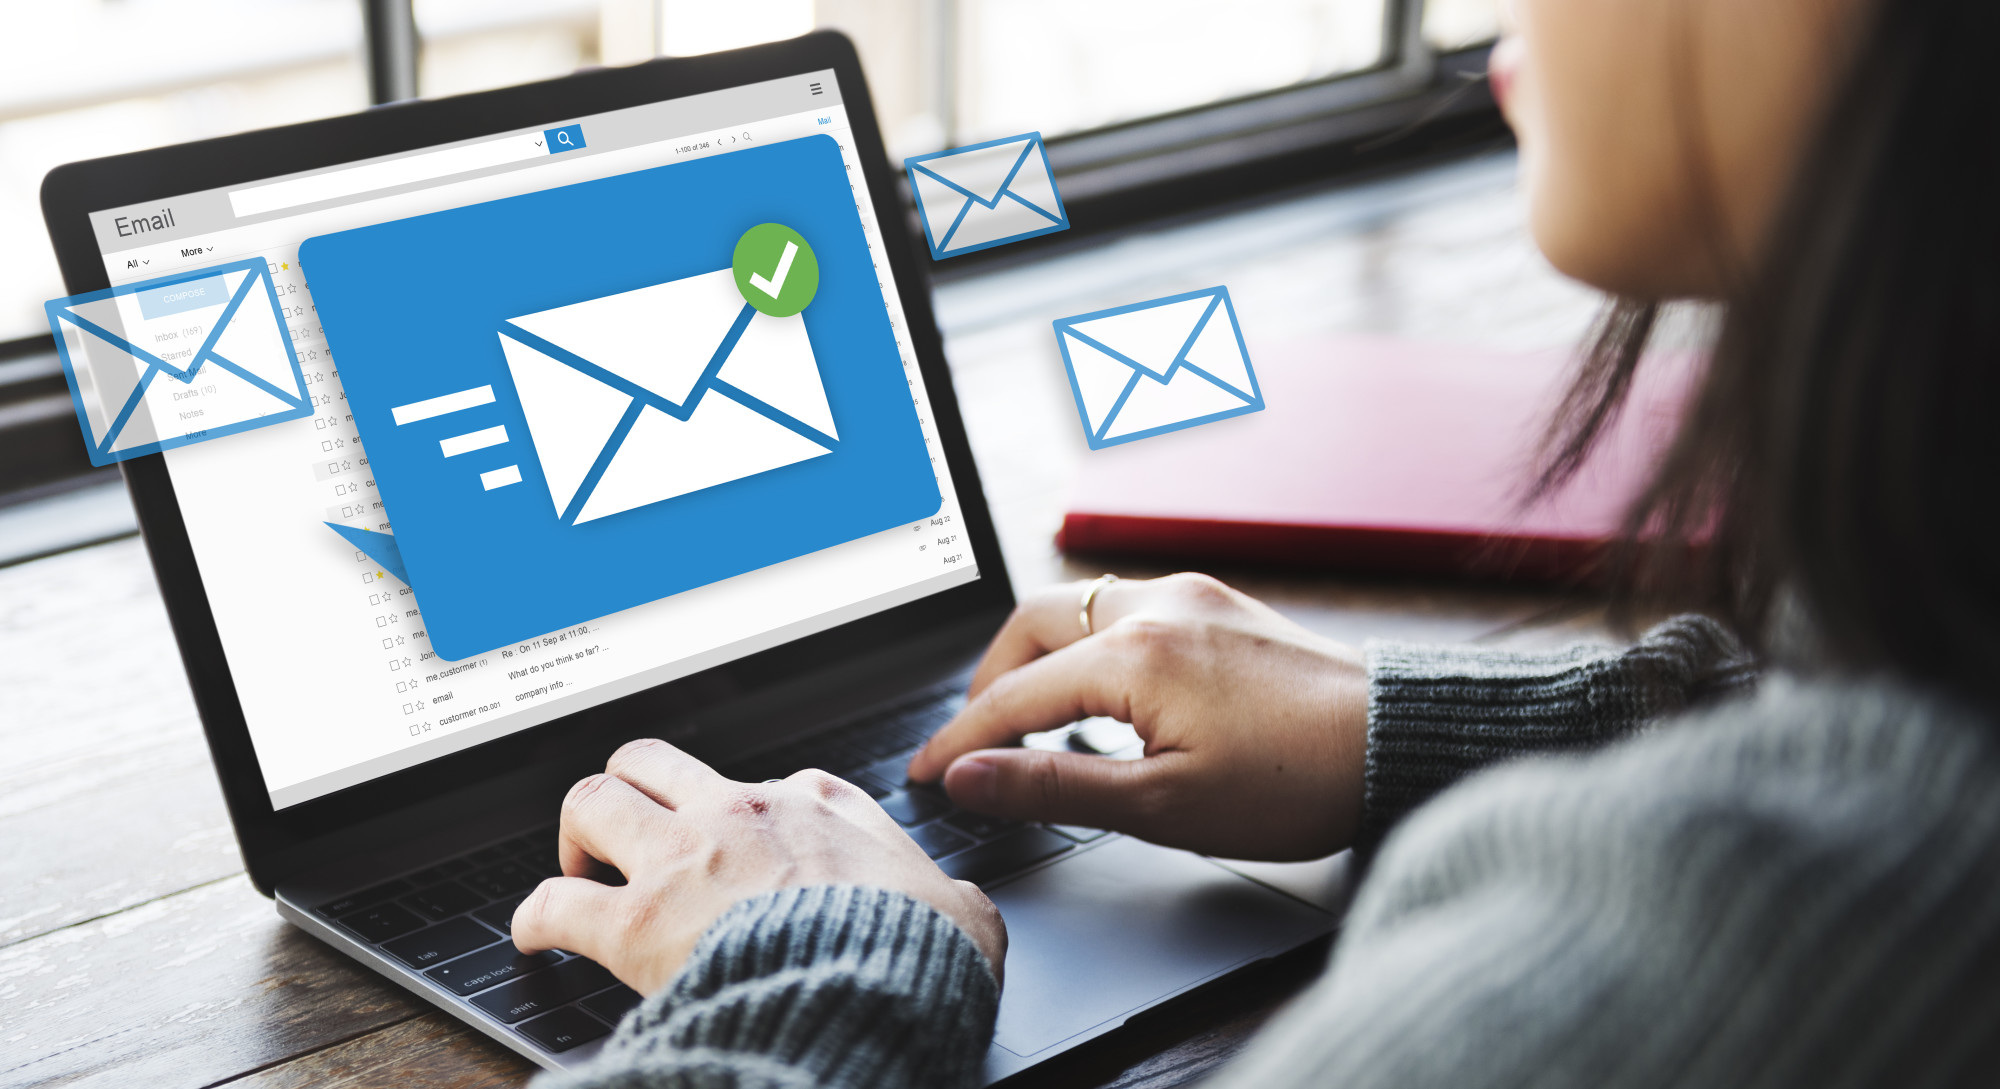
How to Quickly Free up Space in Gmail and Properly Organize Labels
Is your Gmail full of clutter? Are you having a hard time searching for files? Do you see the number of unread emails reaching over a thousand?
Then you badly need to organize your email. But what if Gmail tells you that it is almost out of space?
Then you need to learn how to free up space in Gmail.
Unfortunately, it is one of those problems most people do not know how to resolve quickly. They try all sorts of remedies like clearing their spam folder or deleting some photos here and there but to no avail.
The warning still remains. You are close to consuming the 15GB storage space that Google gave when you created your account.
So how do you free up some space in your Gmail? What are the steps that will help you retake 15GB of storage?
Continue reading below to find out.
Contents
What Takes Up Your Gmail Space?
Before we head to the steps, let us first break down the items that take up most of your Gmail storage. As we mentioned earlier, you get 15GB of free storage upon signing up. Though 15GB of storage is a lot, sooner or later it will dwindle.
But what exactly takes up your Gmail space? If you perform a storage space analysis, you will see the three sections that share your 15GB storage. These are Drive, Gmail, and Google Photos.
Go here and check which of the three takes up much of your storage. From there, you will have an idea of which of the three you need to free up to make more room for your Gmail.
Keep in mind that if you fail to free up space, some of your emails, especially the ones that come with large attachments, may not be able to go through.
How To Free Up Space In Gmail Fast
Freeing up space on Gmail is oftentimes set aside by many. Until the time comes when they can no longer receive emails and other files will people start to scramble for solutions. Let’s take a look at the most effective ways to free up space in Gmail.
Start With The Old Ones
Let us start with your inbox. The first thing you need to visit is your older emails. These are emails that you will likely never open and use again. Thus, you can discard them accordingly.
Go to the Gmail search box at the top of the screen. Enter the words “older_than:3y.” This will open a list of all your emails that are at least three years old or more.
Tick the select all option and click that trash button to delete.
Discard Files
Aside from your very old emails, you also need to discard some of your files, especially the large ones.
You can search for specific files using the search box. Try typing “filename:mov” or “filename:mp3.”
You can also type “size:” then follow it up with the minimum size in bytes. Gmail employs a 25MB size limit for messages and attachments.
But if there are large files that you cannot discard, consider downloading local copies. To do this, switch on IMAP or POP via the settings page. This way, you can download emails into a desktop program then save them afterward.
In case you’re using a Mac computer, go to https://setapp.com/how-to/delete-mail-downloads to learn how to delete email downloads.
Check Your Photos
When you analyze your Google space storage, you will likely notice that your photos are taking up the most space. Go to the settings page and check if you are saving photos in their Original resolution or High Quality.
If the setting is in Original, change it to High Quality. Switching to High Quality reduces the file size of your photos while maintaining great visual quality.
Unsubscribe
Do you receive newsletters from various companies? Then perhaps it’s time to unsubscribe to the ones that you don’t even care to open.
To do this, open an email from the sender you wish to unsubscribe from. Look for the “Unsubscribe” or “Change Preferences” option beside the sender’s name and click it.
Empty Your Trash
Last but not least, you need to empty your trash regularly. Sure, your Gmail trash empties itself after 30 days. But if your goal is to clear up space immediately, you need to delete the contents of your trash right now.
Go through the left sidebar and click “More.” From there, look for “Trash” that comes with a garbage can icon. Open your trash and click “Empty trash now” at the top of the list.
How To Organize Your Labels
Downsizing your photos, deleting old emails, and clearing out your trash is great. But it is only half of the battle. The next phase is to organize your Gmail by using labels.
Labels work by helping you categorize your messages. For example, you can create a label where all your work-related emails will fall under. And within this “Work” label, you can create more labels like “Follow Up,” and “Urgent,” depending on what you wish to add.
To label your emails, go to the sidebar menu and scroll down. Click “Create a new label” to open a small window. In the window, insert a name for your label.
The good thing about these Gmail labels is the room for customization. You can assign a color for each label to distinguish them faster.
Aside from the labels, you can also explore the Tabs. These are the categories of your messages. To use Tabs, click the Settings on your inbox and click the “Configure inbox” tab.
From there, you can tick the categories that you do not wish to see in your Tabs section. In turn, Gmail will move these emails to your “Primary” tab.
Maximize Your Gmail
Learning how to free up space in Gmail is a must for all Google account owners. It helps you organize your messages and keep your inbox away from clutter. But there is a lot more to learn beyond increasing storage space.
Optimize and maximize your Gmail by reading our other articles. We discuss tips to improve your Gmail experience and increase your productivity.
Comments are closed.